Concrete driveways are durable, but over time, they can develop cracks due to weather changes, aging, or shifting ground. Freeze-thaw cycles, heavy traffic, and the weight of vehicles can cause these cracks to widen, leading to large cracks that compromise both the appearance and integrity of the driveway. It’s important to repair large cracks in concrete driveway promptly to prevent further damage, which can lead to more costly repairs or even the need for complete replacement.
In this post, we’ll guide you through the steps to repair large cracks in concrete driveway, from cleaning and filling the cracks to sealing the surface for long-lasting protection. Following these steps will help you restore your driveway’s strength and aesthetic appeal.
Tools and Materials You’ll Need
- Concrete crack filler or epoxy
- Chisel and hammer
- Wire brush
- Shop vacuum
- Trowel
- Safety gear (gloves, goggles, etc.)
What Causes Big Cracks in a Concrete Driveway?
Concrete driveways tend to develop large cracks due to varying reasons involving both environment and structure. One of its most common enemies is freeze-thaw cycles, when water invades tiny cracks, freezes, then expands — resulting in even more concrete driveway damage as time goes on. Inadequate mixing or reinforcement during initial installation can also weaken the surface and make it more susceptible to cracking. Also, tree roots can push upward from under the driveway, and heavy loads, such as large trucks or RVs, can stress the concrete beyond its limits. Finally, movement of the subsoil — the earth below the grass or pavement that acts as a backdrop for the foundation, which may occur due to shifting soil, erosion, or settling, could cause deep, uneven cracks. Knowing these causes of cracked driveways is crucial for proper driveway maintenance and to help prevent future problems before they occur.
When Should You Repair vs. Replace Your Driveway?
Knowing when to repair or replace a concrete driveway can save homeowners time as well as money. If you have minor to moderate cracks in your driveway that aren’t accompanied by sinking or major damage, a targeted repair may do it for you. But cracks that are wide, deep or part of a larger pattern of structural failure could mean it’s time for a full replacement. Repairing in these instances may only provide a temporary solution. What will the long-term driveway repair cost be compared to that of a new installation? Sure, repairs are cheaper at the outset, but constant patching can hit the pocketbook, particularly if underlying problems aren’t fixed. Assessing the extent of the damage can also help you determine whether a concrete driveway replacement or simple repairs are your best option.
Step-by-Step Guide: How to Repair Large Cracks in Concrete Driveway
Step 1: Clean the Crack Thoroughly
Use a wire brush to scrub inside the crack and remove any loose concrete, dirt, or debris. Rinse with water and allow it to dry completely for the best results.
Step 2: Widen the Crack for Better Filler Adhesion (If Necessary)
Use a chisel and hammer to slightly widen and deepen the crack. This helps the concrete crack filler grip more effectively and ensures a longer-lasting repair.
Step 3: Remove All Debris and Dust
Use a shop vacuum or compressed air to clear out all dust and debris. A clean crack improves the bond between the concrete and the filler material.
Step 4: Apply Concrete Crack Filler or Patching Compound
Carefully apply the concrete crack filler into the crack using a caulking gun or trowel. Be sure to fill it completely—deep cracks may require multiple layers.
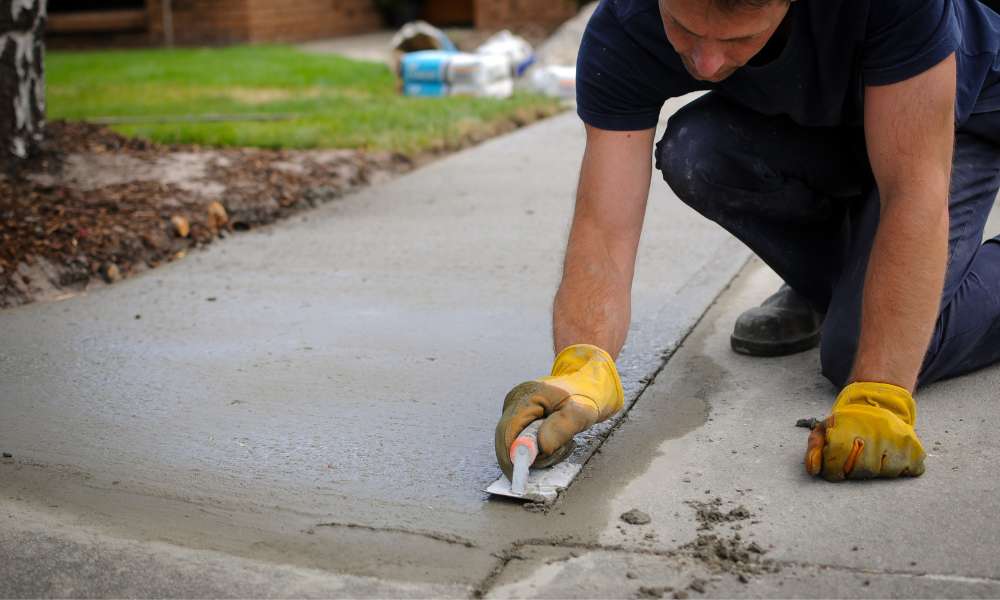
Step 5: Smooth and Level the Surface
Use a trowel to smooth the patched area so it’s even with the surrounding surface. Remove any excess material while it’s still wet.
Step 6: Let It Cure and Dry
Follow the manufacturer’s instructions for curing time—typically 24 to 48 hours. Avoid walking or driving on the area until it’s fully dry.
Step 7: Seal the Repaired Area for Long-Term Protection
Once cured, apply a concrete sealer to protect against moisture, chemicals, and weather damage. Sealing also helps prevent future cracking.
Tips for a Long-Lasting Repair
A few simple maintenance steps can go a long way when it comes to making your concrete driveway repair last as long as possible. For starters, be sure to apply a concrete sealer on an annual basis as a barrier between the surface and moisture, chemicals, and freeze-thaw damage. This protective layer can help lessen the chances of future concrete driveway damage. After a repair is performed, you should avoid heavy loads for several days, allowing the filler time to cure properly and bond with the concrete. Finally, check your driveway frequently and re-patch small cracks promptly before they spread or deepen. Part of savvy driveway care is preventive attention that saves you from extensive repairs later on while also protecting your concrete’s look and longevity.
Read more: How to Secure Inflatable Decorations on Concrete
Conclusion
Repairing cracks in your concrete driveway early is crucial to prevent further damage and expensive repairs down the road. When you repair large cracks in concrete driveway promptly, you not only maintain its aesthetic appeal but also avoid the risk of structural damage. To properly fix large cracks, clean and widen the cracks, apply the appropriate filler, smooth the surface, and seal the repaired area for long-lasting protection. Regular driveway maintenance, such as using a concrete sealer and quickly addressing smaller cracks, will help you avoid major repairs in the future.
By following these steps, you can ensure your driveway stays in top condition for years. Don’t wait for the damage to get worse—take the necessary steps to repair large cracks in concrete driveway today and protect your investment.